
Run ESPHome on ESP32-C2 / ESP8684

The marriage of Espressif ESP32-C2 (also known as ESP8684) and ESPHome has arrived.
With a minor limitation of MDNS not functioning and only 2 MB of flash storage, the device is functional enough for basic input, output and sensors.
Here is an example ESPHome configuration YAML file. It is for the ESPC2-01 module with a status LED and HTU21D temperature and humidity sensor connected via I2C.
UART over SSH
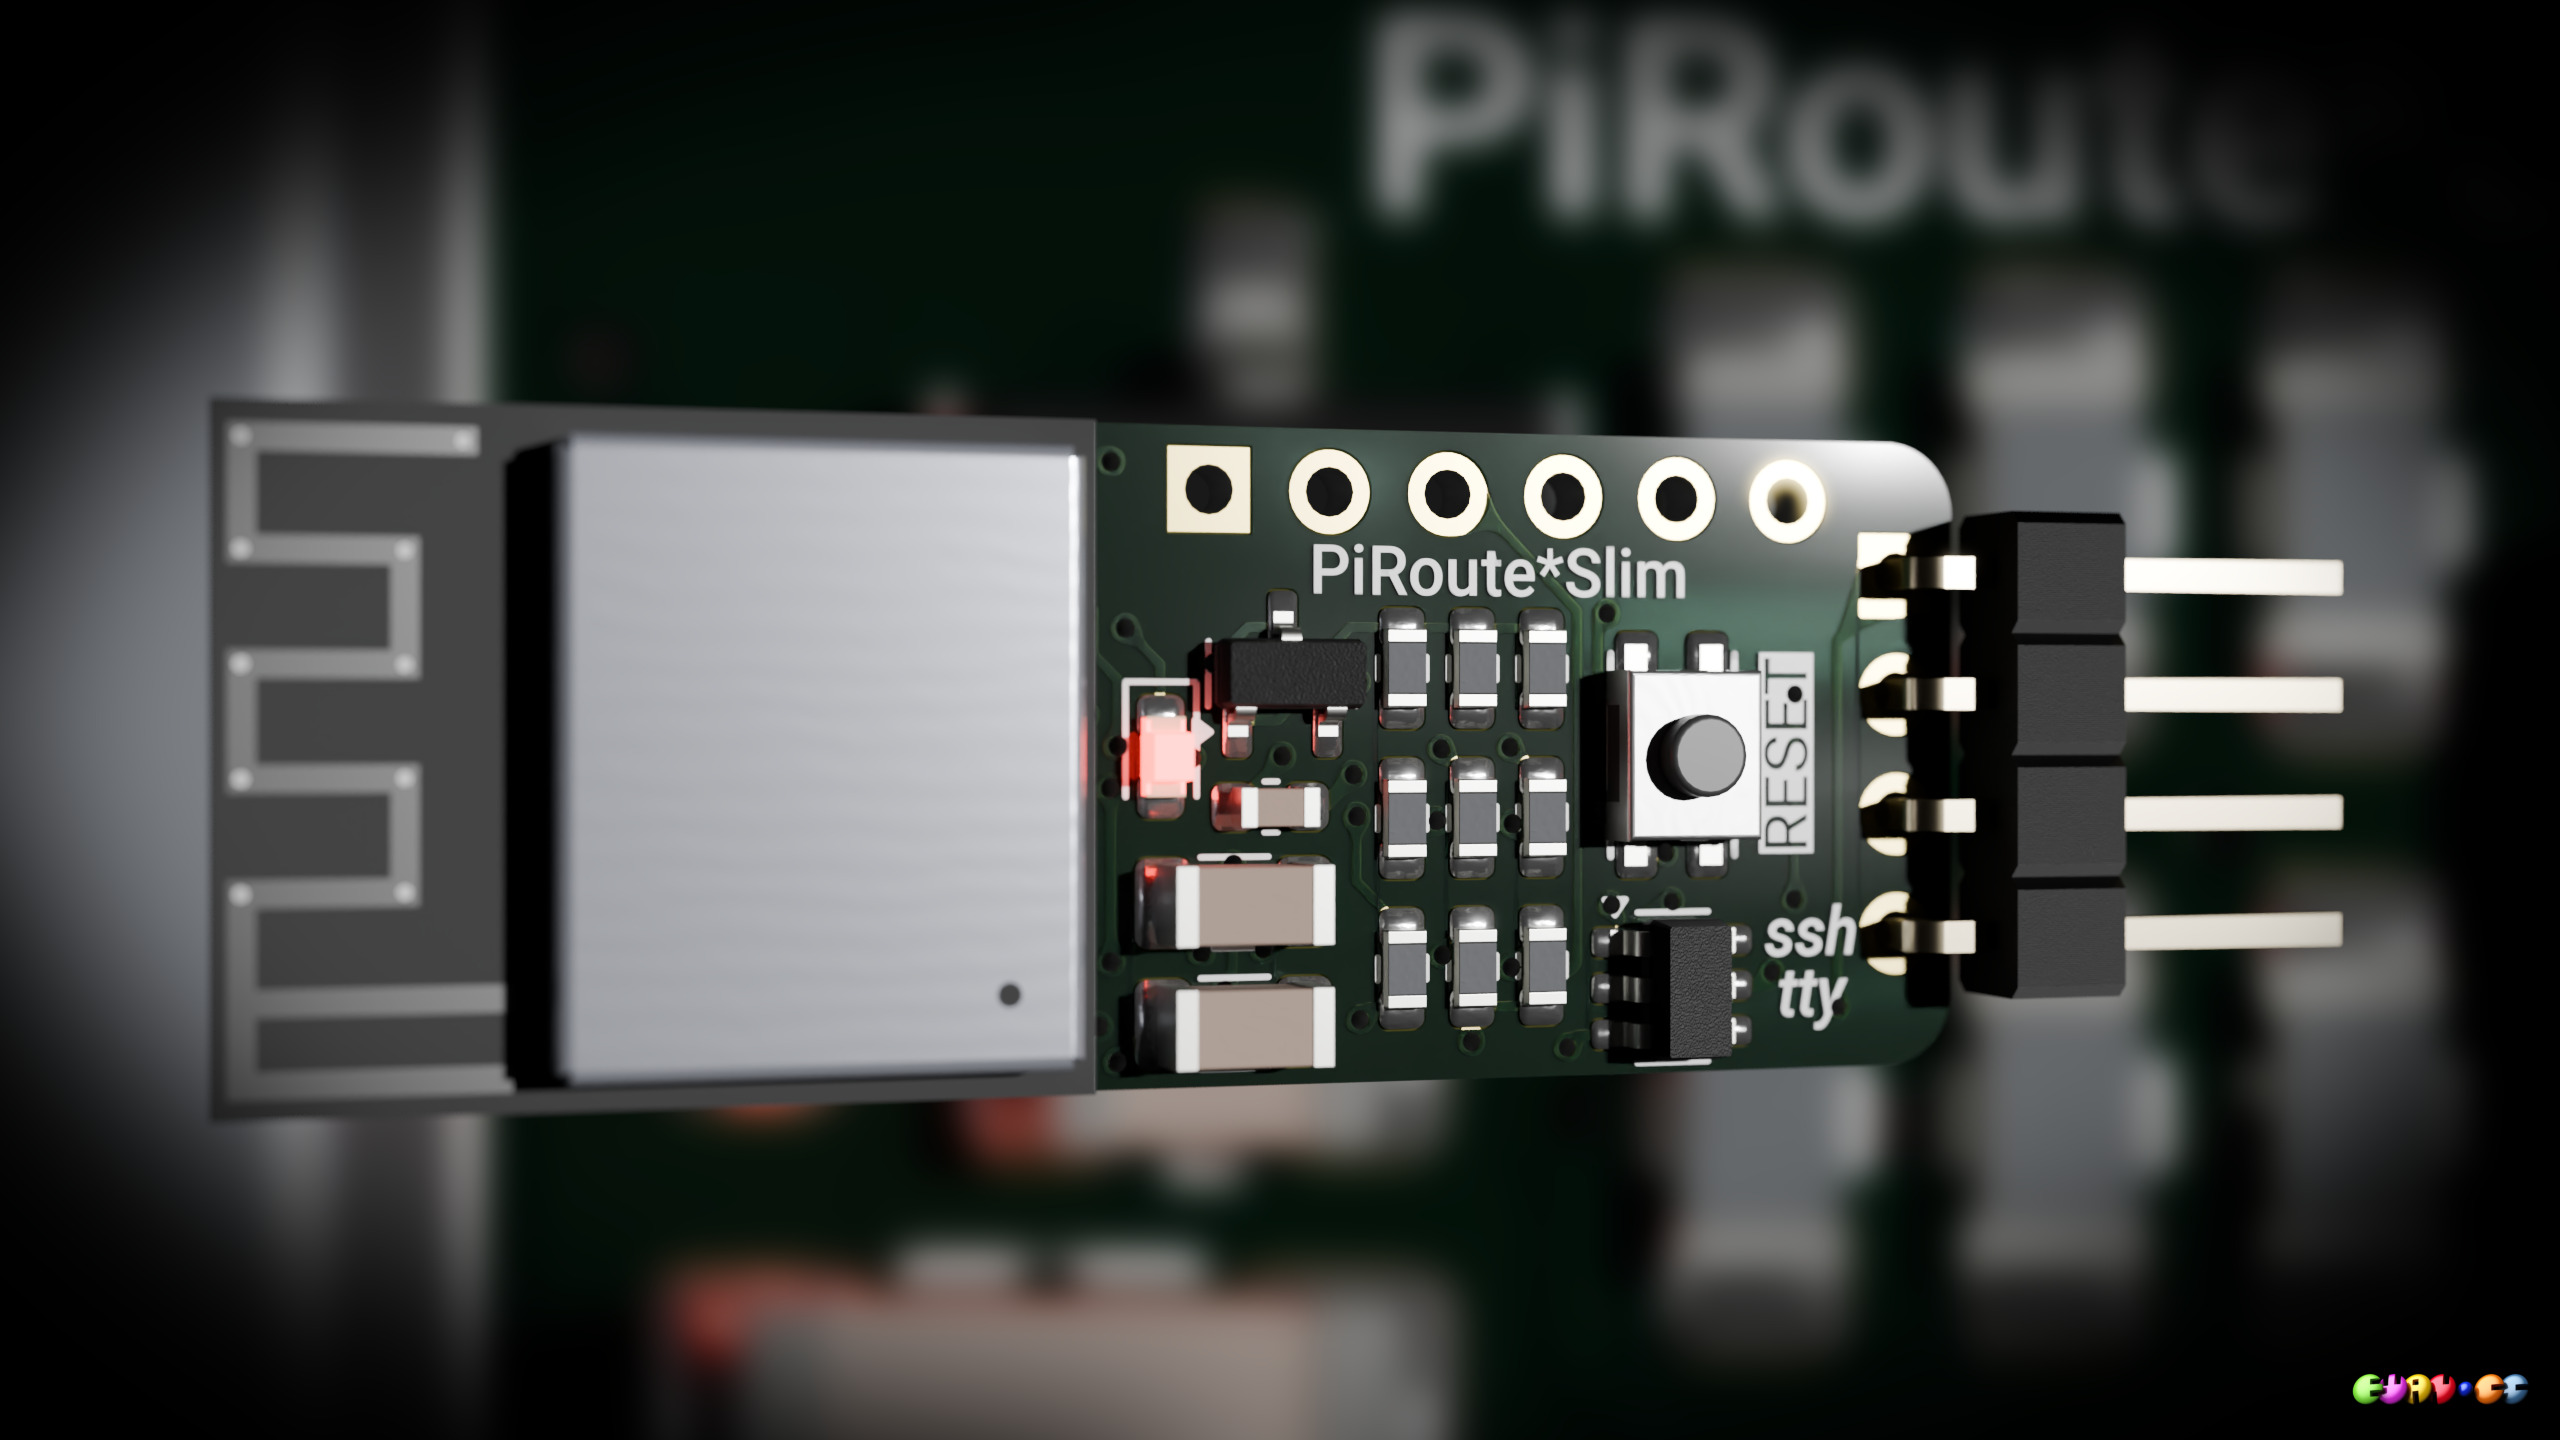
The PiRoute*Slim turns any UART serial port into an SSH shared terminal console accessible through WiFi. It is a drop-in replacement for a Bluetooth RFCOMM module but offers a lot more flexibility and functionality.
USB Mass Storage over WiFi SSH

This is firmware that can be configured and loaded onto an Espressif ESP32-S2 or ESP32-S3 to create a USB mass storage device, whose data is accessed over WiFi via SSH using key authentication. It is based on the LibSSH-ESP32 library.
ESP32 port of libssh

Finally an embedded SSH Server and Client is available. After significant and long-standing demand, I am porting the libssh library to the ESP32 system-on-chip family as an Arduino library.
Migrate/Upgrade Ubuntu 18.04 LTS (Bionic Beaver) GNU/Linux from 32 bit to 64 bit HowTo

Sorry, no more upgrades for this system
There will not be any further Ubuntu releases for this system's 'i386' architecture.
Updates for Ubuntu 18.04 will continue until April 2023.
This guide is for you if you've seen the above message and you want to upgrade your Ubuntu system to 20.04 LTS.
This brief HOWTO shows how to take a working 32 bit 18.04 installation and convert it into a 64 bit system. You will be able to keep all your programs, settings and data. Once converted to 64 bit you can plan the upgrade to 20.04 LTS.
Replace 16x02 16*02 1602 LCD with 128x32 OLED (Arduino library driver)
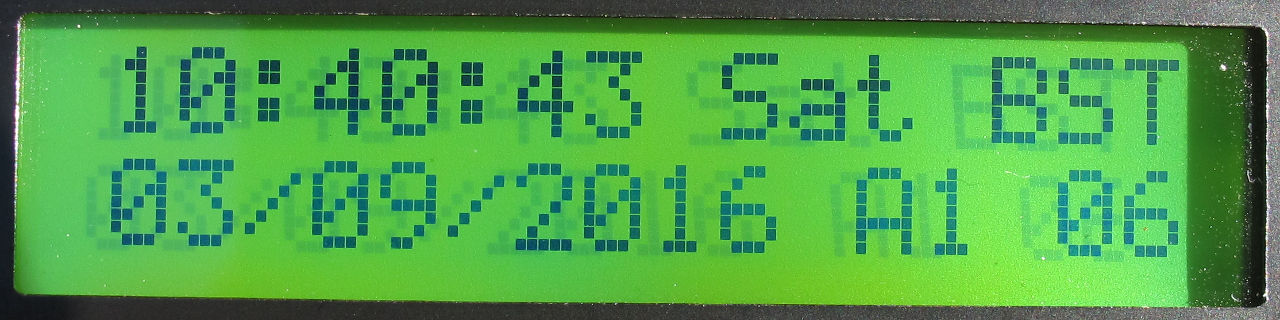
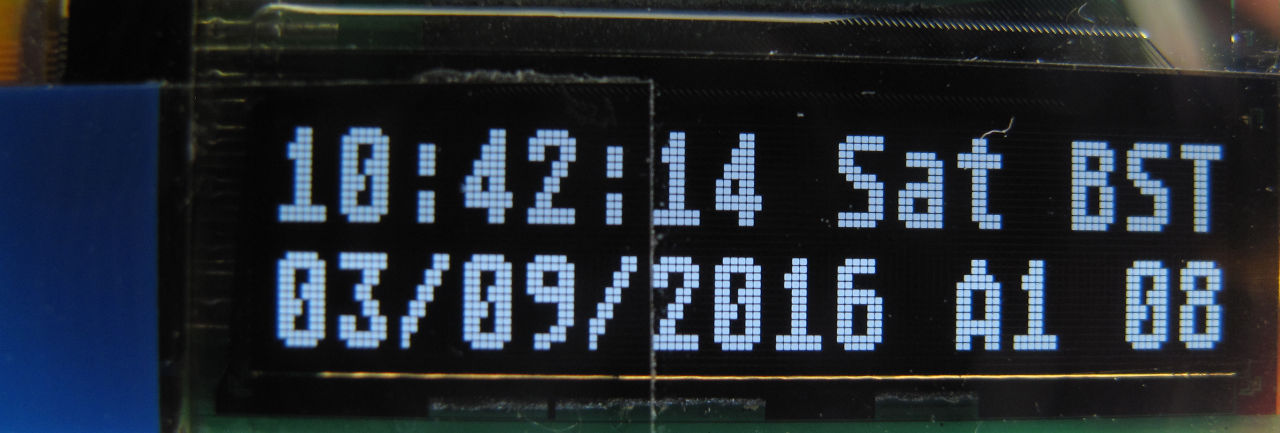
OLED 16x02 16*02 1602 Arduino library driver for 128x32 pixel displays is attached below. Upgrade your projects to use OLED technology with minimal effort or changes.
Use EEPROM and other memory on Arduino with wear leveling

Here is an Arduino library allowing you to write to all flash or EEPROM space with wear leveling. The library already supports multiple memory types (internal EEPROM, I2C and SPI) and can be extended very easily to support others. The memory space can be used as a space to store configuration data with wear leveling, or to read and write (at the same time) sensor data filling the whole memory space efficiently.
Add another hardware serial port to Arduino (MAX3100 library)

A complete Arduino library for the MAX3100 serial UART/USART chip can be downloaded below. There have been many requests for an Arduino library for the MAX3100 external serial USART (UART) chip from Maxim Integrated. As an example of the minor changes needed to use the MAX3100's serial port instead of (or in addition to) the built in serial port, here is some sample code (note the lower case 's' is the only change needed to use the new serial port).
Arduino on breadboard (ATMEGA328P 8MHz and 1MHz)
A one stop shop for using the ATMEGA328P standalone at 8MHz or 1MHz clock speed including compiled bootloader. This is for use primarily on a breadboard, but also also directly on, say, a Uno R3 or Nano.
SN74HC595 shift register simulation directly in Arduino
There exists little practical information assisting with the experimentation of '595 shift registers. This article and below Arduino sketch aim to address this vacuum. The sketch simulates one or more (chained) 595 shift registers on the serial monitor while simultaneously driving the IC or ICs via the Arduino's pins. This allows concurrent theoretical and practical experimentation with the 74HC595 first-in-first-out (FIFO) shift register family.